The integration has two steps, one on the Service Provider side and one on the Datarails side.
Step 1 - Datarails
Enforce Login Authorization Method
Admins can define the login authorization method for their organization.
- From the Home page, navigate to the left-side panel and click on Admin.
- From there, click on Organizations.
- In the new page that opens, find your organization (there may be only one) and click on the three dots ellipsis.
- Then from the dropdown choose, Enforce Auth Method For Users.
- Select “SAML” method and click the “Save” button.
- Click Save.
- Click on the three dots on the right of the organization, and select Edit SAML Configurations:
-
Enter the information from the SAML site in the following screen:
Admins must either click "upload file" and select an exported file from their IDP or insert a metadata URL and click Import.Post click the IDP Issuer (entity ID) will come up If all is correct click “save changes”. The system displays (read only):
- IDP Issuer (entity ID)
- Datarails ID
- Datarails ID URL
- Click Save.
Generate SCIM Auth Token
To enable SCIM-based provisioning, you must generate an authentication token associated with your user account. Follow these steps:
Navigate to Datarails Admin > Members & Groups.
Locate your user account (SCIM operations will be executed under this user).
Click the three-dot menu next to your user entry and select SCIM Token.
Copy the generated SCIM token and SCIM base URL. These will be required when configuring SCIM in your identity provider (e.g., Okta).
Step 2 - Service Provider Setup, for example: OKTA
2.1 Login in the okta site and click on the “Admin” button
2.2 On the new page select “Add APP” option
2.3 Select a “Create new APP” option
2.4 Choose “SAML 2.0” type
2.5 Type APP name
2.6. Fill all required fields
Single sign-on URL: https://app.datarails.com/saml2/acs/
Audience URI (SP entity ID): https://app.datarails.com/saml2/metadata/
NameID format: EmailAddress
Application UserName: Email
Attribute statements: email -> user.email
2.7 Click "Finish"
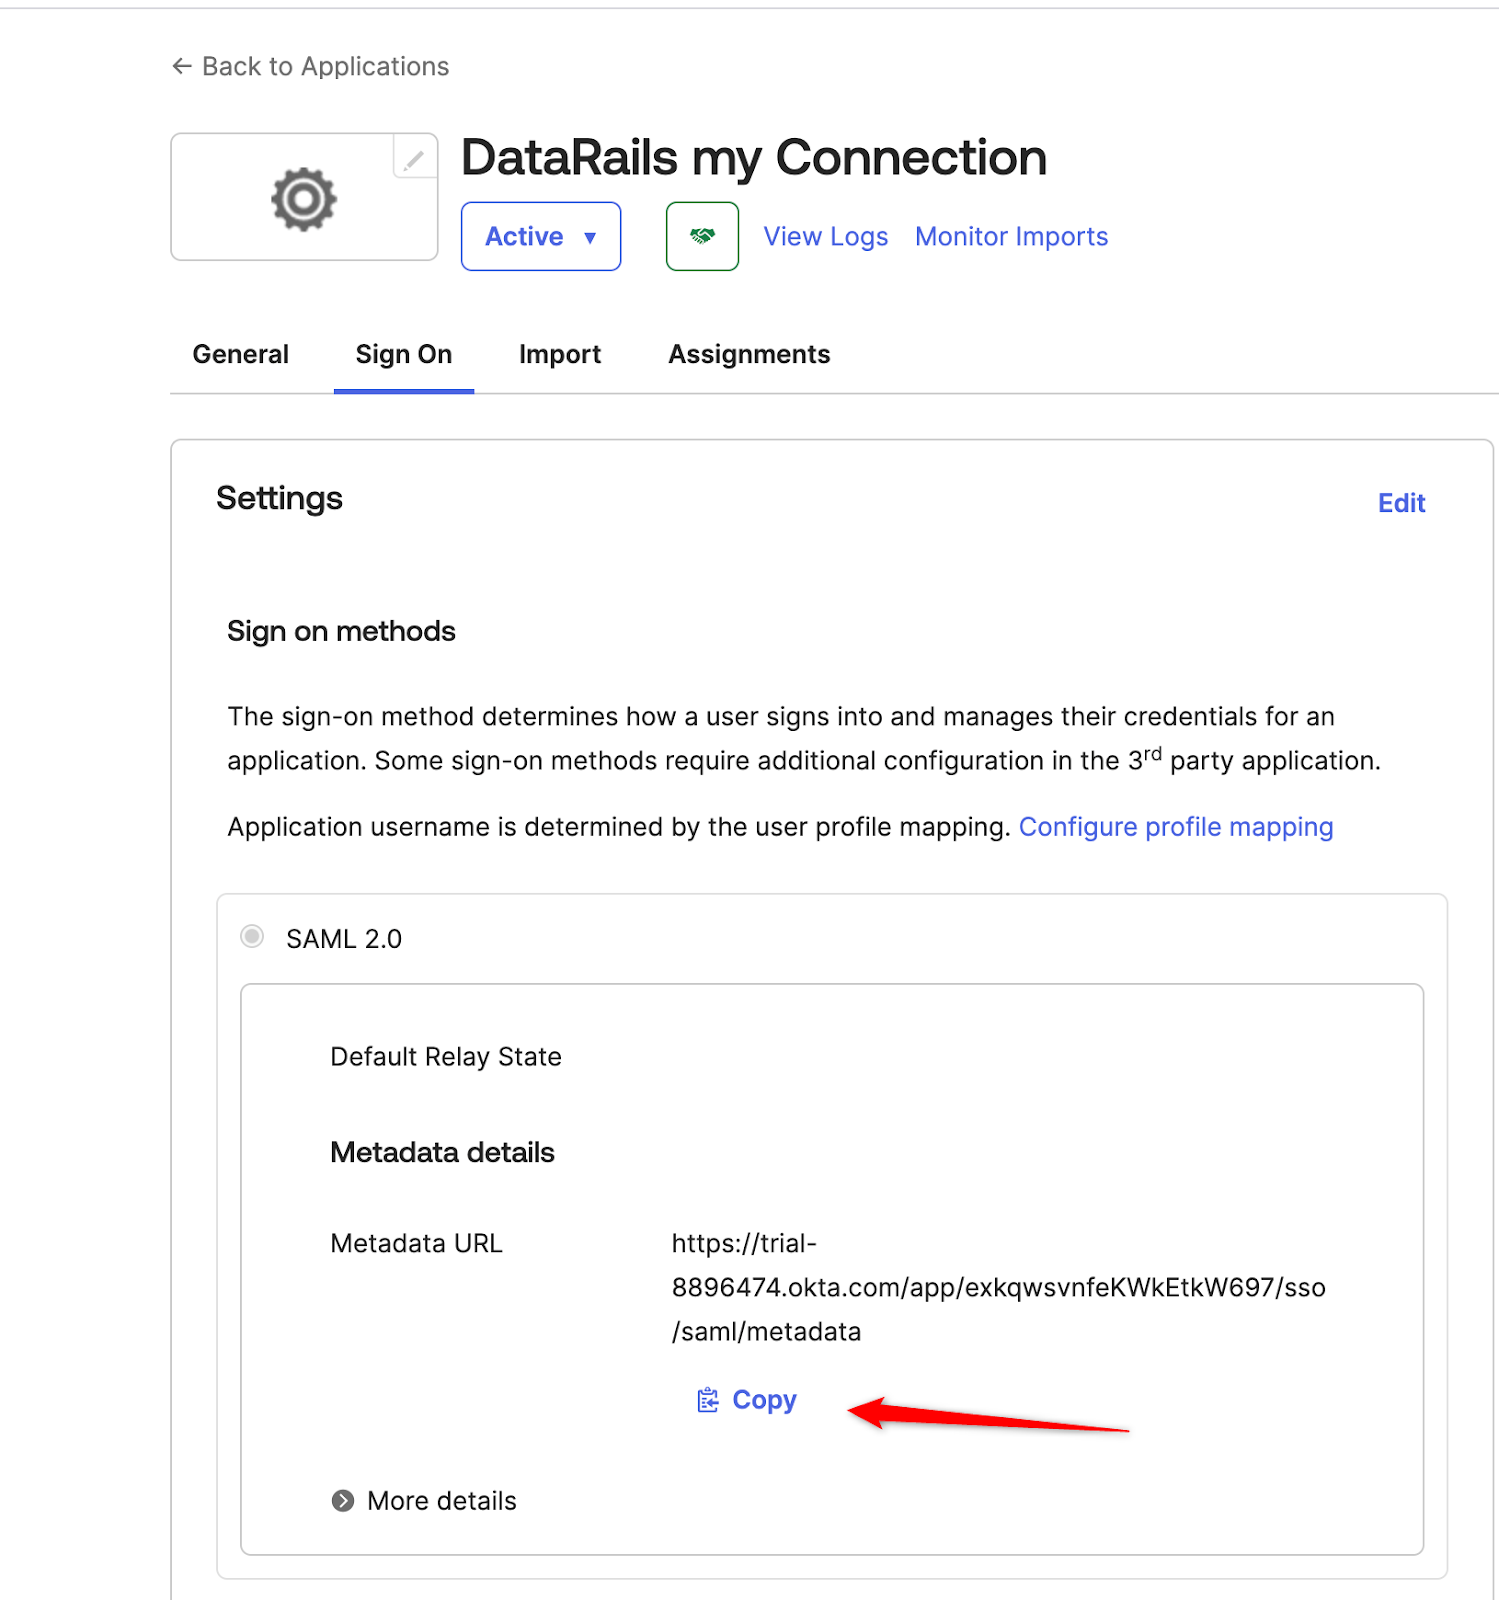
2.8 Copy metadata URL
2.9 Go to the “Assignments” tab
2.10 Select Assign to people
2.11 Select all necessary people and click Done
© Datarails Ltd. All rights reserved.
Updated
Comments
0 comments
Please sign in to leave a comment.